On the plus side, that means I can spend some time working in the shop on my projects again!
The first change I needed to make was to my tool rack.

As you can see if you look closely, the original tool rack is great for some things, but leaves chisels free to fall over any time I bump the bench, or hit something on it with a mallet. I haven't actually nicked an edge yet, but it's only a matter of time. Since I've wanted to try out a standard chisel rack for a while, this seemed like a good opportunity.
I started by gluing a new piece in to close the gap. As I was doing it, I realized that the whole process was going to end up leaving it really fragile, but it should last long enough to let me decide whether I like it or not.

I wanted to use my bench for something else while the glue dried, so I left it pegged to the back of the bench, wrapped twine around it tightly, and held the end of the string with a spring clamp. It worked quite well, and was tight enough that I had some squeeze-out, despite the filler piece not being a particularly tight fit.
While that was drying I sharpened one of the chisels that had been on the rack, cleaned, sharpened and reassembled a low angle block plane I'd been putting off working on, and started working on a saw rack for behind the back panel.
Once the glue was dry, I removed the whole rack from the back panel, then drilled 3/4" counterbores about a quarter of an inch deep, then smaller holes all the way through. Cutting notches for the chisels to slide in was tricky, because the second cut on each slot was cutting through an unsupported and fairly narrow pillar with two questionable glue joints. A great deal of care and a very light hand with the saw got me through it, though, and I was able to put the rack back on.
Once the glue was dry, I removed the whole rack from the back panel, then drilled 3/4" counterbores about a quarter of an inch deep, then smaller holes all the way through. Cutting notches for the chisels to slide in was tricky, because the second cut on each slot was cutting through an unsupported and fairly narrow pillar with two questionable glue joints. A great deal of care and a very light hand with the saw got me through it, though, and I was able to put the rack back on.
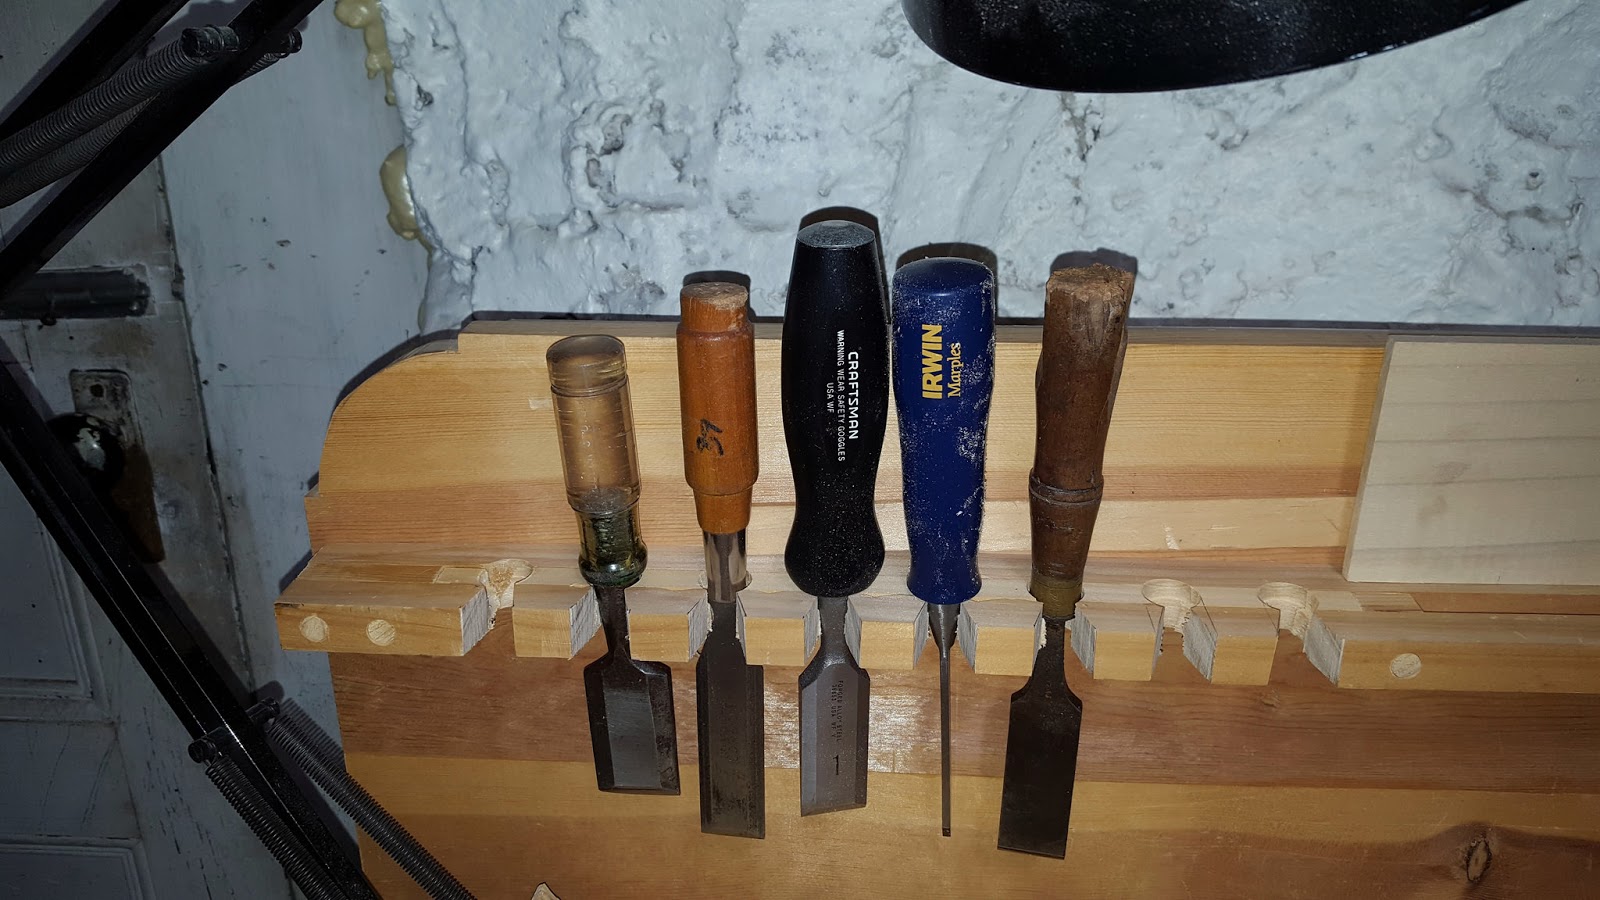
As you can see, it worked fairly well. Those five chisels don't actually fit in my tool chest (I didn't leave much space for extra chisels when I built it), so I'm pleased that they've finally got a storage rack that will keep them reasonably safe. At some point I'll need to remove that end of the rack entirely and redo it correctly (that is, using a solid block of wood instead of gluing up layers.
The saw rack behind is even simpler: I cut a piece of 1/2" poplar to length, and glued some spacers to it before screwing the assembly to the back of the panel. I'll try to get some pictures of the whole setup in use tonight.
This comment has been removed by a blog administrator.
ReplyDelete