First, the disclaimer: I am, if no longer a beginner, then nowhere near a master. Not even a journeyman. I have a little experience, a lot of theoretical knowledge, and loads of opinions. So take these reviews with a grain of salt.
The first book is The Seven Essentials of Woodworking, by Anthony Guidice.
First Thoughts:
I'm going to get this out of the way, right up front: I didn't like the book. I can't honestly recommend it to a raw beginner, and it's arguably too basic for a non-beginner. However, that isn't due to factual content, or technique. Within my experience, most of what he wrote is true, or at least not untrue. The techniques he discusses are good ones, the tools he recommends are, to my knowledge, excellent, and he makes some good points about some of the common beliefs in woodworking. And yet...
What I can't get past is Mr. Guidice's attitude. Look, I'm an IT guy in my daily life. I've told people, fairly seriously, that every IT person knows there's only one appropriate response to a problem. Now, if only we could get any two IT people to agree on a response... Much the same is true of woodworkers, or at least woodworking books. Crafters in general tend to separate into camps more than IT people do, but there's still a sense of "Other ways work, but mine is best." I'm used to that. It amuses me more than anything.
What bothers me here is that it's taken to an extreme in this book. Mr. Guidice appears to take the attitude that no one who disagrees with him can be considered an expert. Really. A quote from the book: 'I am very much aware that some of the precepts in this book are contrary to what is often written in woodworking books and magazines, and may be challenged by "experts."' (p 12)
Right there, in the introduction, he's set up the claim that no one who challenges him can be an expert. That bothers me, because it denies any chance for discussion. Someone who says "Other people may disagree with me. That's fine, but this is my way, and here's why I like it." opens the door for discussion or debate. This closes that door, and sets up the author as the ultimate authority. This isn't an isolated example, by the way, it's just the one that I happened on first when I went looking for a quote.
So if you're a beginner and you're reading this, remember: his techniques are good, and his information is good. But other people also have good techniques and information, and it's not always the same as what you'll see in this book.
Details:
The book covers, as you might guess, seven general topics. In order, they are:- Wood, gluing, and joint strength.
- Measuring and marking.
- Sawing.
- Sharpening
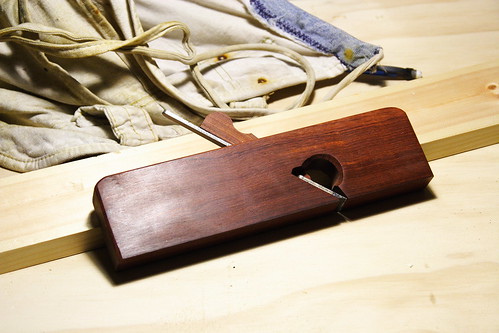
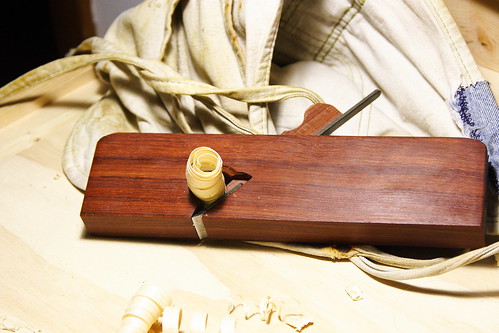
- Hand planes.
- Mortise and tenon joints
- Finishing.
I've got no argument with anything (except the aforementioned attitude) in the first two sections. What he says about how to handle things makes as much sense as anything else I've read, and more than some of it. (The internet is a truly vast repository of badly written garbage. My hope with this blog is to increase the average quality of the garbage.)
In the third section, though, I have some questions. Mr. Guidice is very firmly opposed to what I think of as traditional saws; he makes no bones about the fact that he hates backsaws ("Backsaws are heavy, difficult to balance, and unwieldy... And it doesn't cut well, either." p 26) and carpenter's saws ("The backsaw does not have the worst design I've ever seen; the standard carpenter's handsaw... has a thicker blade and bigger teeth, whips and kinks in the cut, and cuts even more slowly." p 26). What does he like? Bow saws. I've never used a bow saw for woodworking; I have one I love for cutting up downed trees, but not for anything finer than that. He may well be right, but I find it interesting that he so despises tools that so many woodworkers love. My handsaws don't seem inclined to "whip and kink in the cut" unless I do something wrong, and they cut quite quickly. I can't help wondering, in fact, whether his hatred of the form has more to do with early bad experiences than the form itself.
Once that's done, I really run out of problems with Mr. Guidice's ideas. Again, he frequently includes short complaints about people who disagree with him, but his facts and techniques seem to be fairly standard.
My one other note comes mainly from the section on planes. One argument he makes, which I have trouble arguing with, is that beginners who want to do serious woodwork should just buy good quality brand new planes, and not mess around with trying to restore vintage ones. Just about the only specific tool he recommends in the book is the Lie-Nielson low angle jack plane. It gets fantastic reviews from everyone I've seen review it, so I can't really fault him. But... well, not everyone can afford to spend $200+ on a hand plane. That's more than I've spent on all my planes put together, and possibly more than I've spent on all my hand tools put together (though I was helped out there by some nice tools being passed down to me).
And really, that's my problem with the whole book. I've read other authors who say things like "The best choice is to go get a new plane from a good manufacturer. You'll find out what a really good tool feels like, and you won't have to mess around with it. It'll just work. But if you can't afford that, here are some resources for helping you tune up an old plane into something quite good." That, to me, is reasonable. Mr. Guidice says, in essence, "Go buy a new plane. If you're not going to do that, stop wasting my time and go find a different hobby." Again, shutting down discussion rather than encouraging it.
Finally, one positive note: His section on finishes is the clearest I've read. Seriously. Low on attitude, high on information. It all backs up other things I've read, with a good organizational structure. It worked for me.
Final Thoughts:
As I said initially, I can't recommend this book, really to anyone. The author is just too opinionated, and that colors the whole book for me. I've found most of the information (though he talked more about bow saws than anyone else I've read) other places, with less "I'm right and everyone else is dumb" attitude.
Is it, though, actually a bad book? I'd have to say no. The information is clearly presented, and the author appears to know his subject. He's opinionated, not wrong. The fact that I don't like it doesn't change the fact that, for many things, his methods will work, and work well. If you're willing to overlook the slanted opinions, or if you don't have easy access to another book, give it a read. If you want something balanced, go read something else.