I imagine anyone who finds this post will have already seen more than they want to know about the chest, so I'll just include this link to Christopher Schwarz's article about them.
I made a few changes, some of which may cause trouble in the future, and some of which are already causing trouble.
Construction:
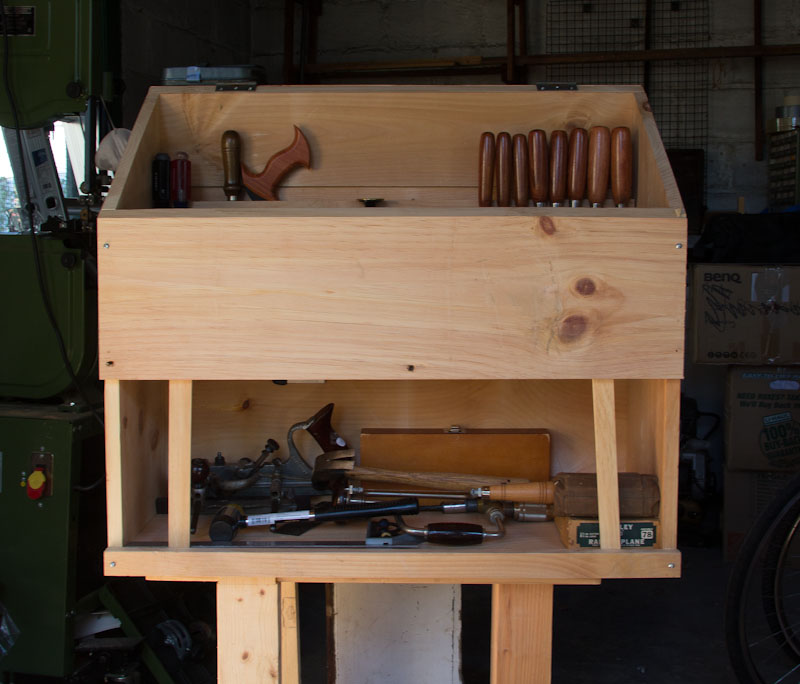
The construction is standard: I had a lot of 1x12 pine lying around after tearing up a workbench that was left behind by the previous owners of my house, so I used that. So far I've managed to avoid buying any parts at all for this chest, and I'm hoping to keep it that way. The shelves are set into dados in the sides, and the front and back are simply screwed on. In the near future I'll add a chain or cloth tape to hold the lid open, but for now it just leans on whatever I've put behind the chest. The boards for the back are shiplapped, since I didn't have a good set of irons for doing tongue and groove. And now, on to the photos! (click any of them to get a full sized image on Flickr)
 | |
| Click here to see full size on Flickr |
The Top Compartment:
 | |
| Click here to see original on Flickr |
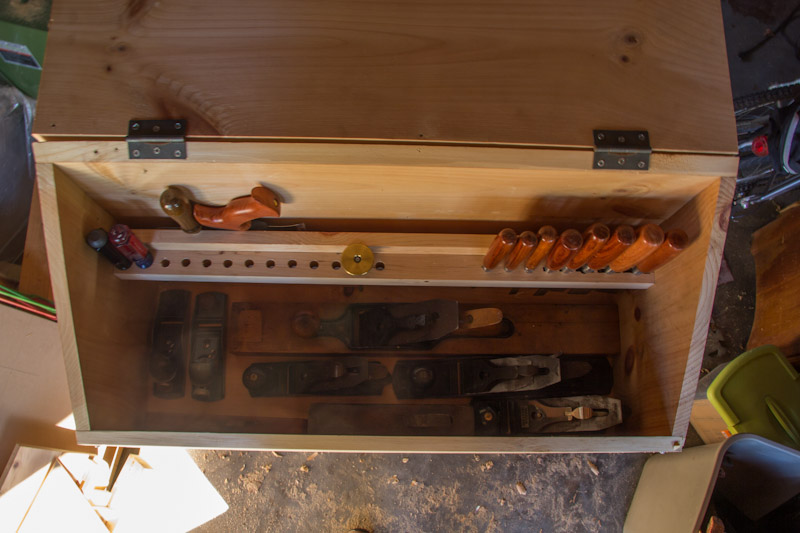
As you can see, there's a LOT of space in there. In this photo, it's holding:
- 8 Chisels, ranging from 1/4" to 1 1/2".
- 2 Screwdrivers; one is a standard size flat-head, the other is a 4-in-1 type. I'll be adding more screwdrivers later.
- A wheel-type marking gauge.
- 2 Joinery saws, a gent's type dovetailing saw and a Veritas carcase saw. I'm planning to add a 14" tenon saw to that eventually, but for now these do what I need.
- Planes! Fitted in the bottom of the compartment are:
- A 24" transitional Siegley try plane.
- A Stanley #5 jack plane
- A Ward's Master #4 smoothing plane
- A Stanley #3 smoothing plane (I use this more than the #4 these days)
- Two block planes, one Stanley and the other Craftsman, both regular angle.
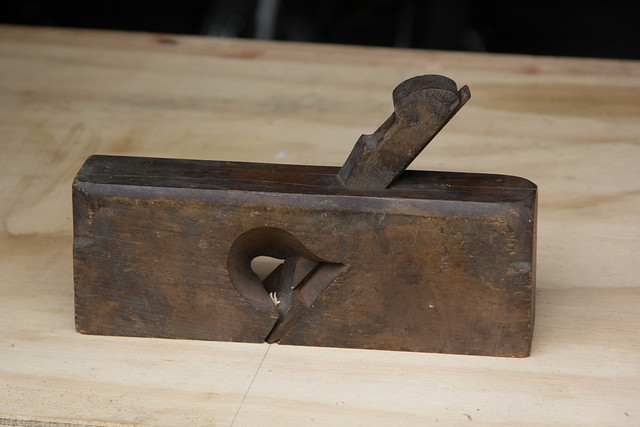
- A 2" skew rebate plane
- A 1" straight rebate plane.
- Not present in the photo is my shop apron, which gets folded and set on top of the planes.
You can see I made one major change from the original chest here: I added a false back to mount the tool rack on, and store joinery saws behind the false back. Once I've worked out where I want them, I'll slide thin partitions down between the saws and tack them in place. That should give the teeth more protection than they have in the Schwarz version, and give me an easy way to re-adjust what saws are where.
The Bottom Compartment:
 | |
| Click here to see original on Flickr |
The lower compartment is a lot messier, and I'm hoping to change that. I'm starting to think I may want to add a drawer or two to hold small tools: a stack at one end would hold drill bits, my #78, and parts for the combination plane quite nicely, with plenty of space left for everything else.
In the photo, you can see:
- A Sargent made combination plane, and a roll of irons for it
- A Stanley #78 moving fillister plane
- A box of Forstner bits
- A hammer and a plastic mallet
- A brace
- A 16" combination square
- The tip of the carcase saw from the top.
What's left?
Since the title of this post indicates that there's some work left to do, I might as well mention that.
The first thing that remains to be done is adding a way to mount panel saws inside the lid. The fact that I moved the tool rack forward means I don't have space to mount them the same way Christopher Schwarz did, with two saws stacked together. Most likely what I'll do is add brackets that hold both saws flat against the lid. If there's space, I'd also like to put that 16" combination square there, but I'm not going to count on it being possible. As part of this, I need to remove the lid and create mortises for the hinges to sit in.
The second thing is building a drop panel for the front. My intent has been to set that up the way everyone else does, with a simple latching mechanism and a removable panel. I'm now thinking I might want to do something a little different, and hinge it so it stays attached. That would let me pull things out and use the front panel as a small surface to, for instance, unpack the #78 and put it together.
Possibly before that, but certainly before finishing, I need to get some handles on this chest. It weighs quite a lot, and right now it's basically impossible to lift without removing at least some of the planes. Right now I'm thinking to use 1 1/2" square strips across both sides, with a hollow on the underside to get my fingers into. I'd love to use quality iron lifts, but I'm still trying to make this work without buying any parts, and I don't have any lifts handy.
Finally, I want to paint the chest. I have a few small tester-size cans of a dark blue paint, which I'll use after an oil-based primer. The wood I used is fairly dirty, and I'd like that to not stain through the paint.


